-40%
GRC 1/10 Defender Interior Full Set Color Set For TRX-4 Defender #G161DH G161DL
$ 41.71
- Description
- Size Guide
Description
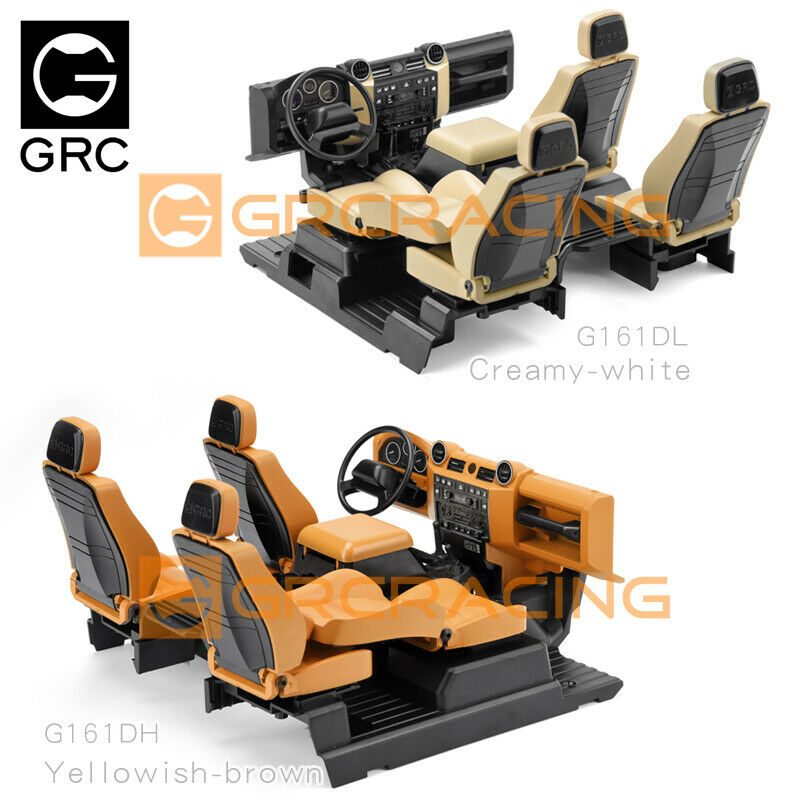
GRC 1/10 Defender Interior Full set Color set For TRX-4 DefenderInstallation Video of the Interior KIT
:
https://youtu.be/sDVDcjwhU1A
Description:
Innovative design by GRC
,
the first interior kit for TRX-4 Defender.
Scale
、
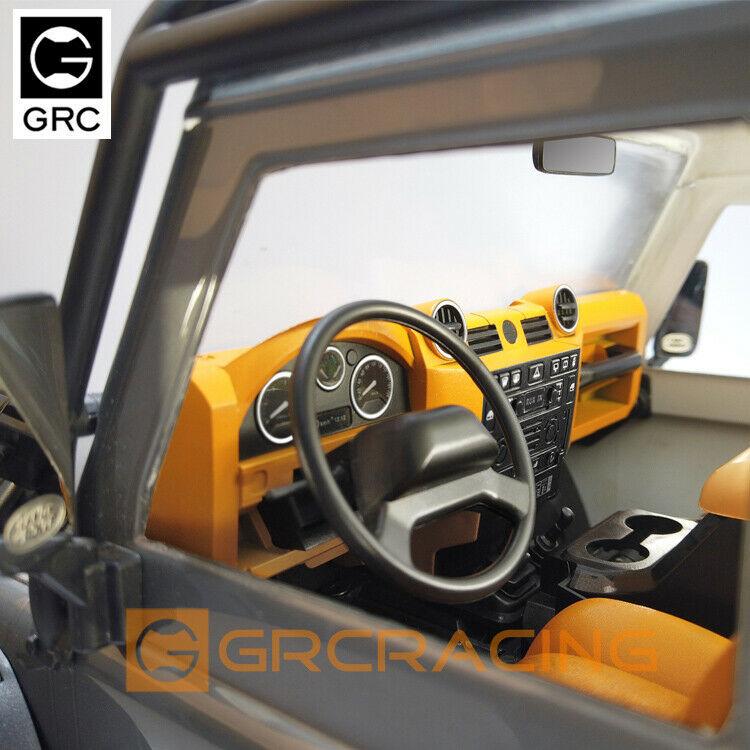
details and perfectly fitting interior set with nice realistic surface. Interior is easy to install into the TRX-4 original body
,
without heavy modifications.
The kit including the dashboard, seat floor, seats.
Notice:
Need to cut off a part of the
original
fender before use. If you don’t want to cut , you can choose the option parts - GRC Fender #G156A and #G156B.
FOR
:
Traxxas TRX-4 Defender
Material:PC Plastic
NO. :
Yellowish-brown : #G161DH
;
Creamy-white : #G161DL;
G.W.:550g
Yellowish-brown
Prod
uct
List:
Creamy
-white Product
List
:
Yellowish-brown Product Display:
Creamy-white Product Display:
The Details:
Interesting Desgin:
4 、
仪表面板独特设计,仅需在背后加灯照亮,即可显示出仪表盘。方向盘舵机联动安装支持标准航模9g舵机尺寸。(灯光、舵机、联动拉杆需自备,图示仅供参考)。
On car Display :
(The proportion of the human puppets in the picture is 6-7 inches movable, and the standing height of the human puppets is about 15.8 -17.5 cm
)
GRC TRX-4 Defender option parts :
GRC TRX4
Fr
ont Inner Fender
#G156A
GRC TRX4
Internal Fast Lo
ck Body Mounts
#G156C
GRC Simulated Defender engine kit for TRX-4 Defender&G156A+G156C #G156ES
GRC 1/10 Defender Interior Full set Color set For TRX
-4 Defender
Yellowish-brown : #G161DH
;
Creamy-white : #G161
DL
;
GRC TRX4 Defender Interior Kit w/o Battery Cover #G161D
No Paint =#G161D
;
Green = #G161DG;
Orange= #G161DF;
GRC Battery Cove
r w/ Armrest For GRC #G161BD
G
RC
TRX4
All-in-one Truck Bed W/Rear Inner Fender
#
G156B
GRC
1/10 Scale Tool Box of GRC TRX4 Defender Truck Bed #G156DP
GRC TRX4
Tailboard for GRC TRX-4 Defender All-in-one Truck Bed
#G156D
GRC Spare Wheel Bracket of 12mm Hex Wheel Hub
#
G159A
Classic Defender And TRX-4 Defender :
Installation instruction
Frame preparation:
1. Adjust the position of the antenna.
2. Remove the 4 screws on the left and right pedals. 3. Arrange the wiring of the motor ESC (very important).
Preparation of the car shell:
1. Cut off a part of the fender inside the original car shell (the cut diagram is shown at the end of the page).
The shear area of the original fender:
